|
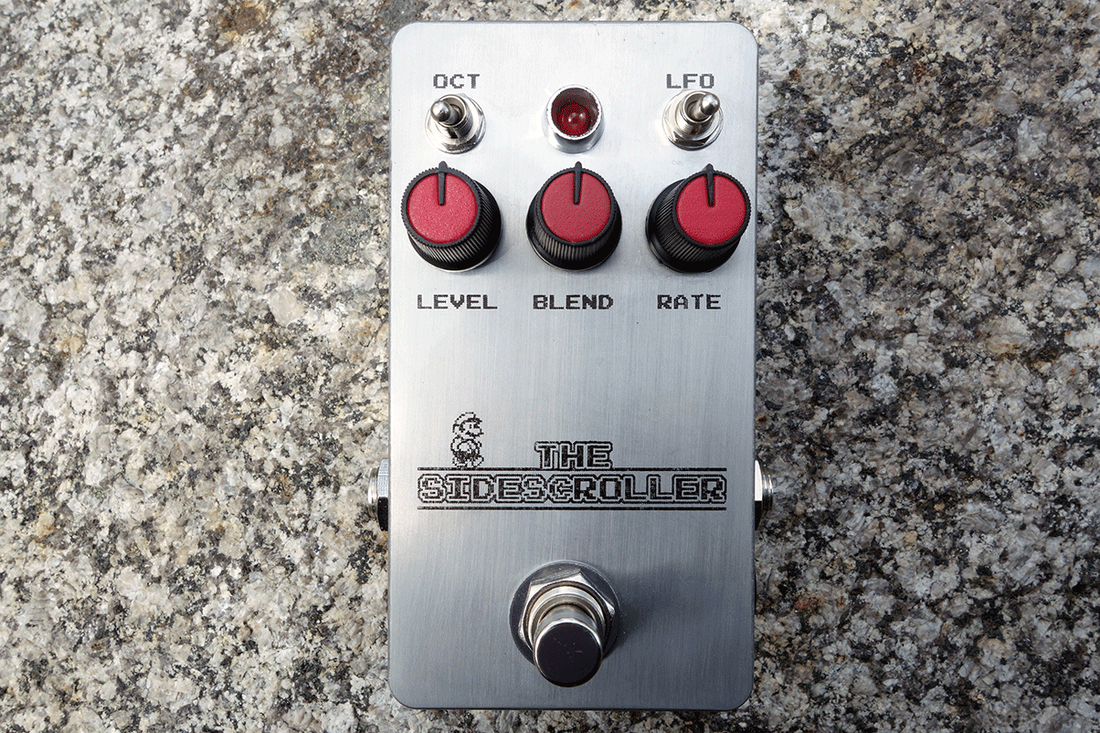
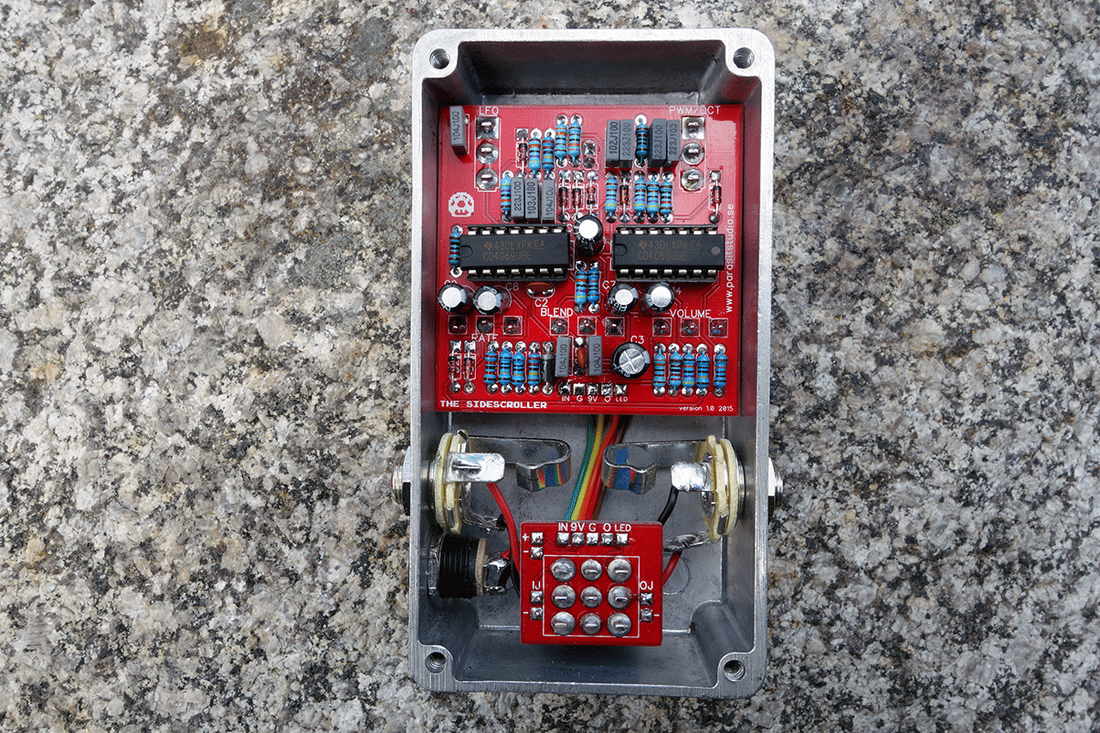
Here is a new original design - The Sidescroller Fuzz. It started out as a derivative of the Silver Fox Octaver, but it turned out quite different. Soundwise It's basically "the arcadiator light" since It also does octave down, octave up and pulse width modulation. Compared to The Arcadiator it has tighter controls, fits in a 1590B and has a unique feature: An LFO to modulate the Pulse Width. All this only using a couple of CD4069 inverter chips. :)
PCB avaliable in the shop
10 Comments
anders
7/1/2015 04:11:08 am
Thanks for this one, it fired right up. Really flexible little thing, does great octave up, Pulse Width and octave down that tracks really well. Great LFO section as well; quite choppy in octave up mode, a bit softer in pulse width mode, with the octave down mode blended in, you're in 8-Bit land. I actally prefers this one over the Arcadiator, it's less noisy and has less controls(and that's a good thing IMHO) Another one to add to my ever growing collection of Parasit boxes. 7/1/2015 06:12:40 am
Cool. Thanks for the build report! I'm glad you like it :)
Chris
8/26/2015 03:14:03 am
I was curious if this item was available for purchase and if so, how much it costs? 8/26/2015 09:08:21 pm
You have to built it yourself. PCB are avaliable in the shop here and complete DIY kits are avaliable at musikding.de :)
Simon
2/2/2019 10:13:26 am
Hey, are there pics available for the 1.5 version, of the front and back of the wired pcb? 2/3/2019 01:39:40 am
Hi Simon,
chemosis
3/2/2020 06:10:48 pm
I always thought the side scroller sounded a little better than the arcadiator so im stocked to buy the sidescroller v2.
mjv913
2/20/2022 10:54:20 pm
Hi Fredrik!
mjv913
2/23/2022 05:10:43 am
So i went ahead and ordered them anyway as i wanted to build the eagle claw too. (Which is done and working btw:)) 2/26/2023 12:00:21 am
All your hard work is much appreciated. Nobody can stop to admire you. Lots of appreciation. Leave a Reply. |
||||